DISC UNLOADER SPINAL ORTHOSIS LO
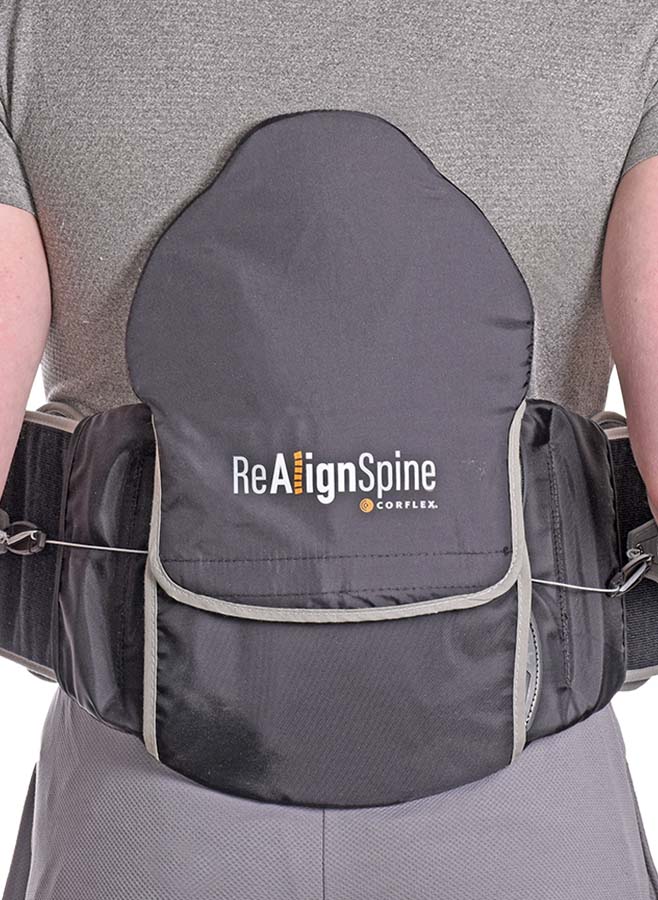
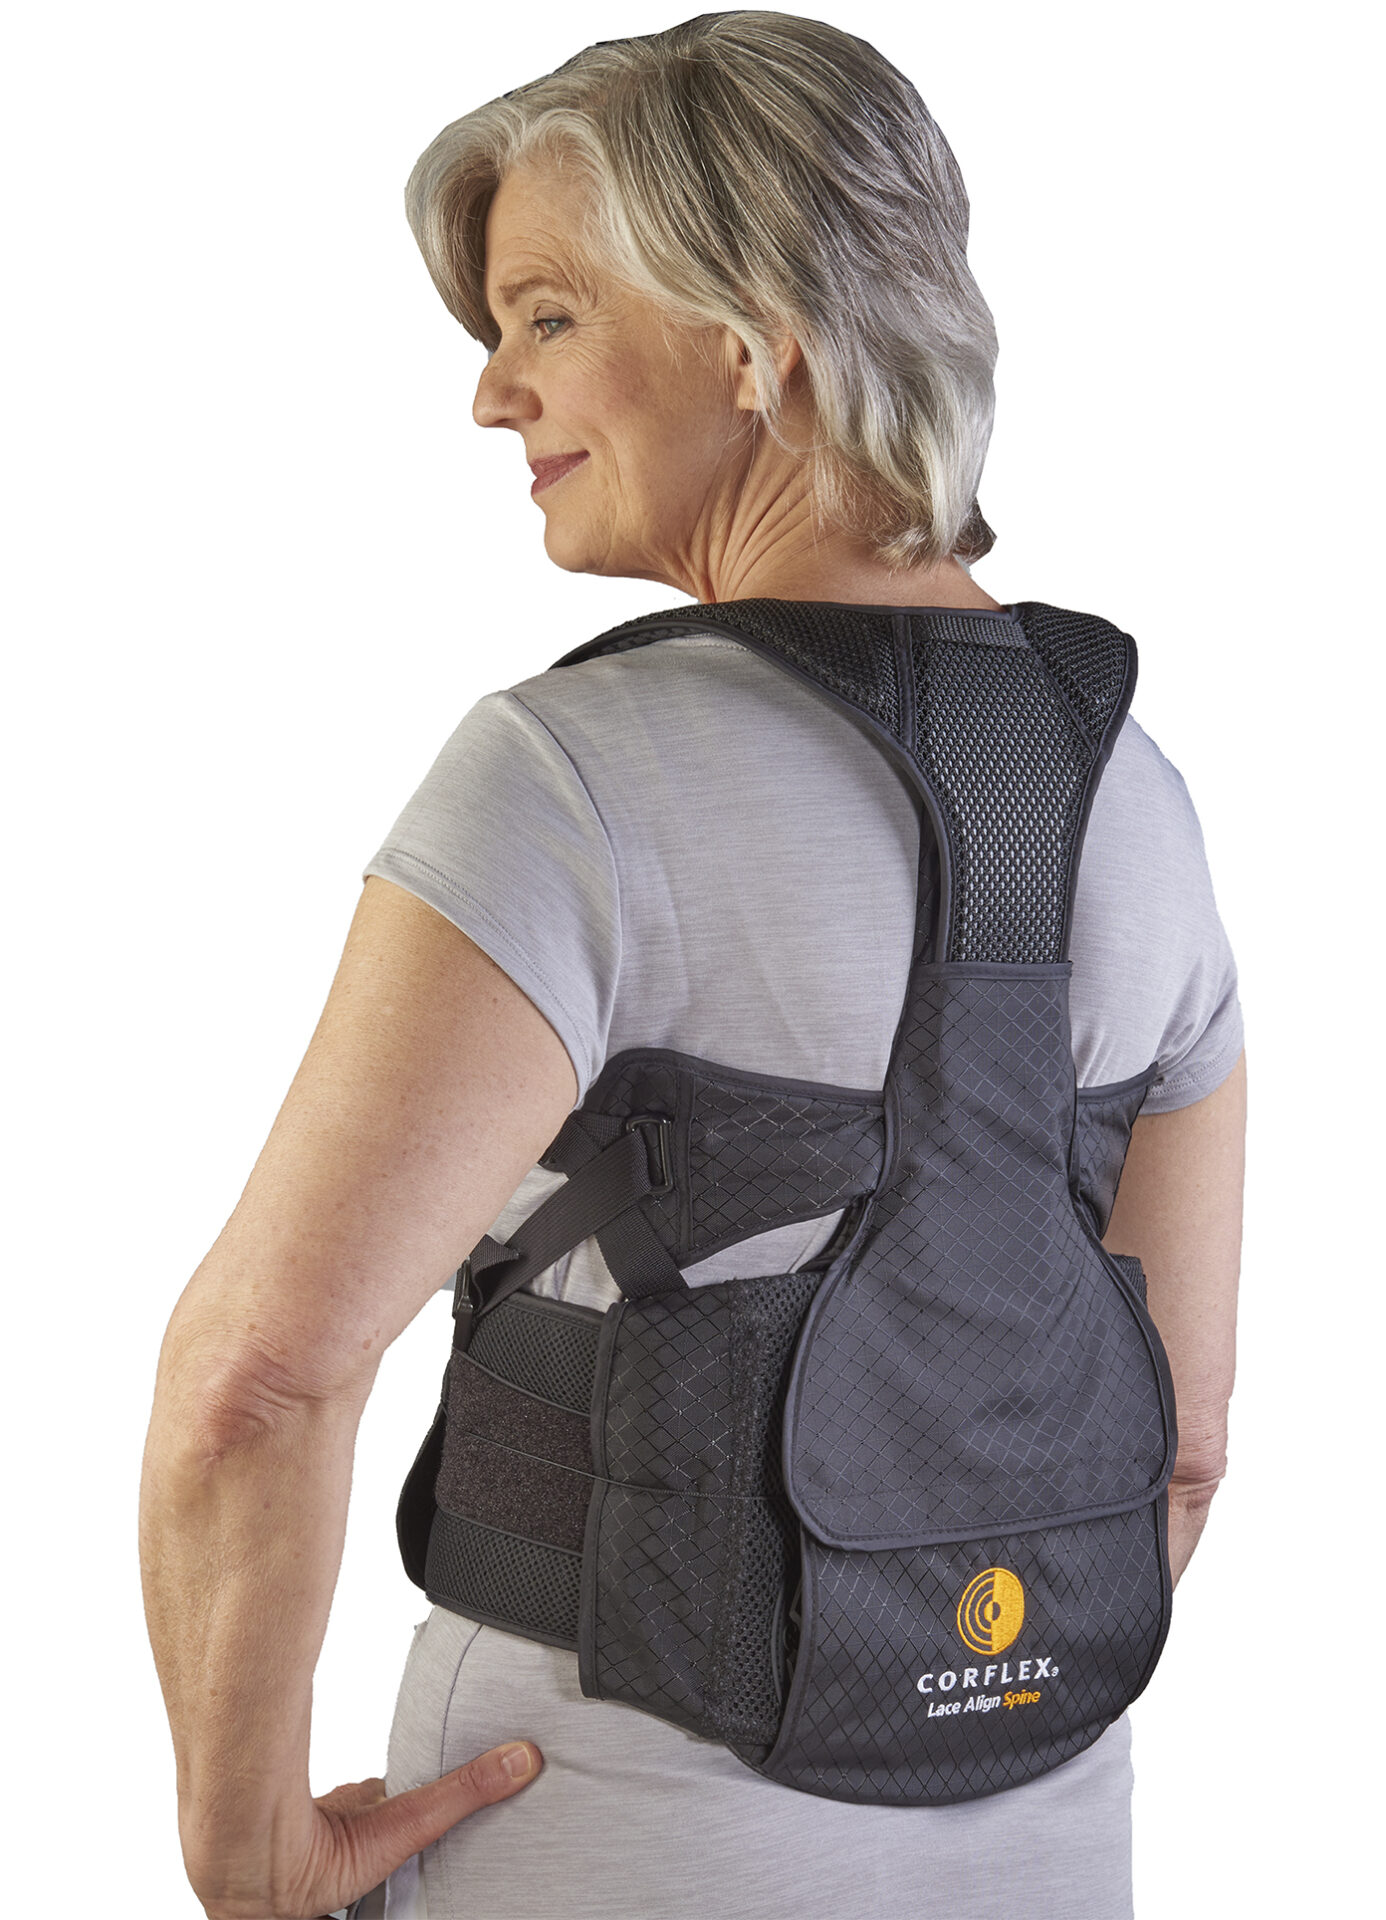
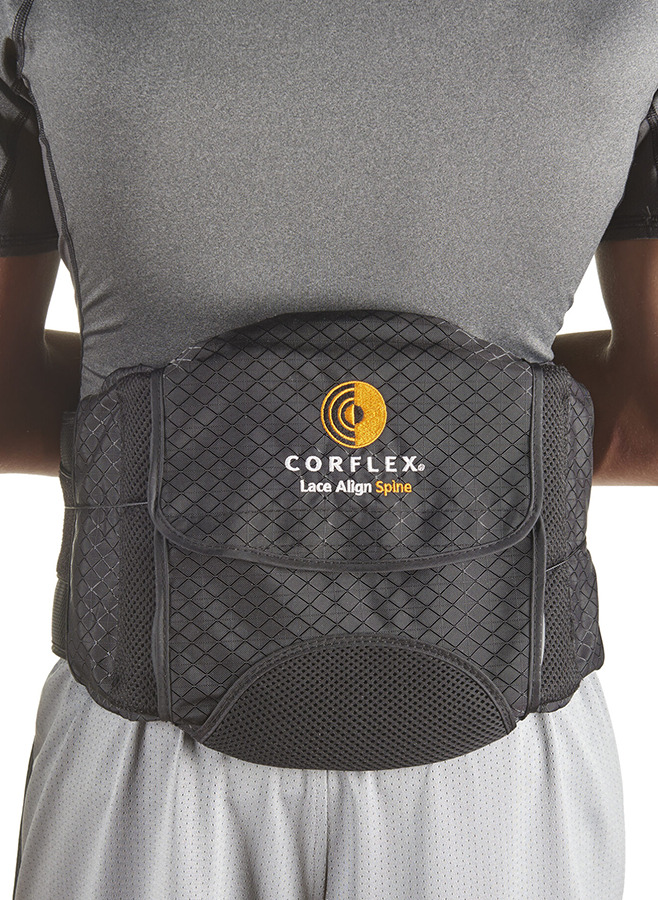
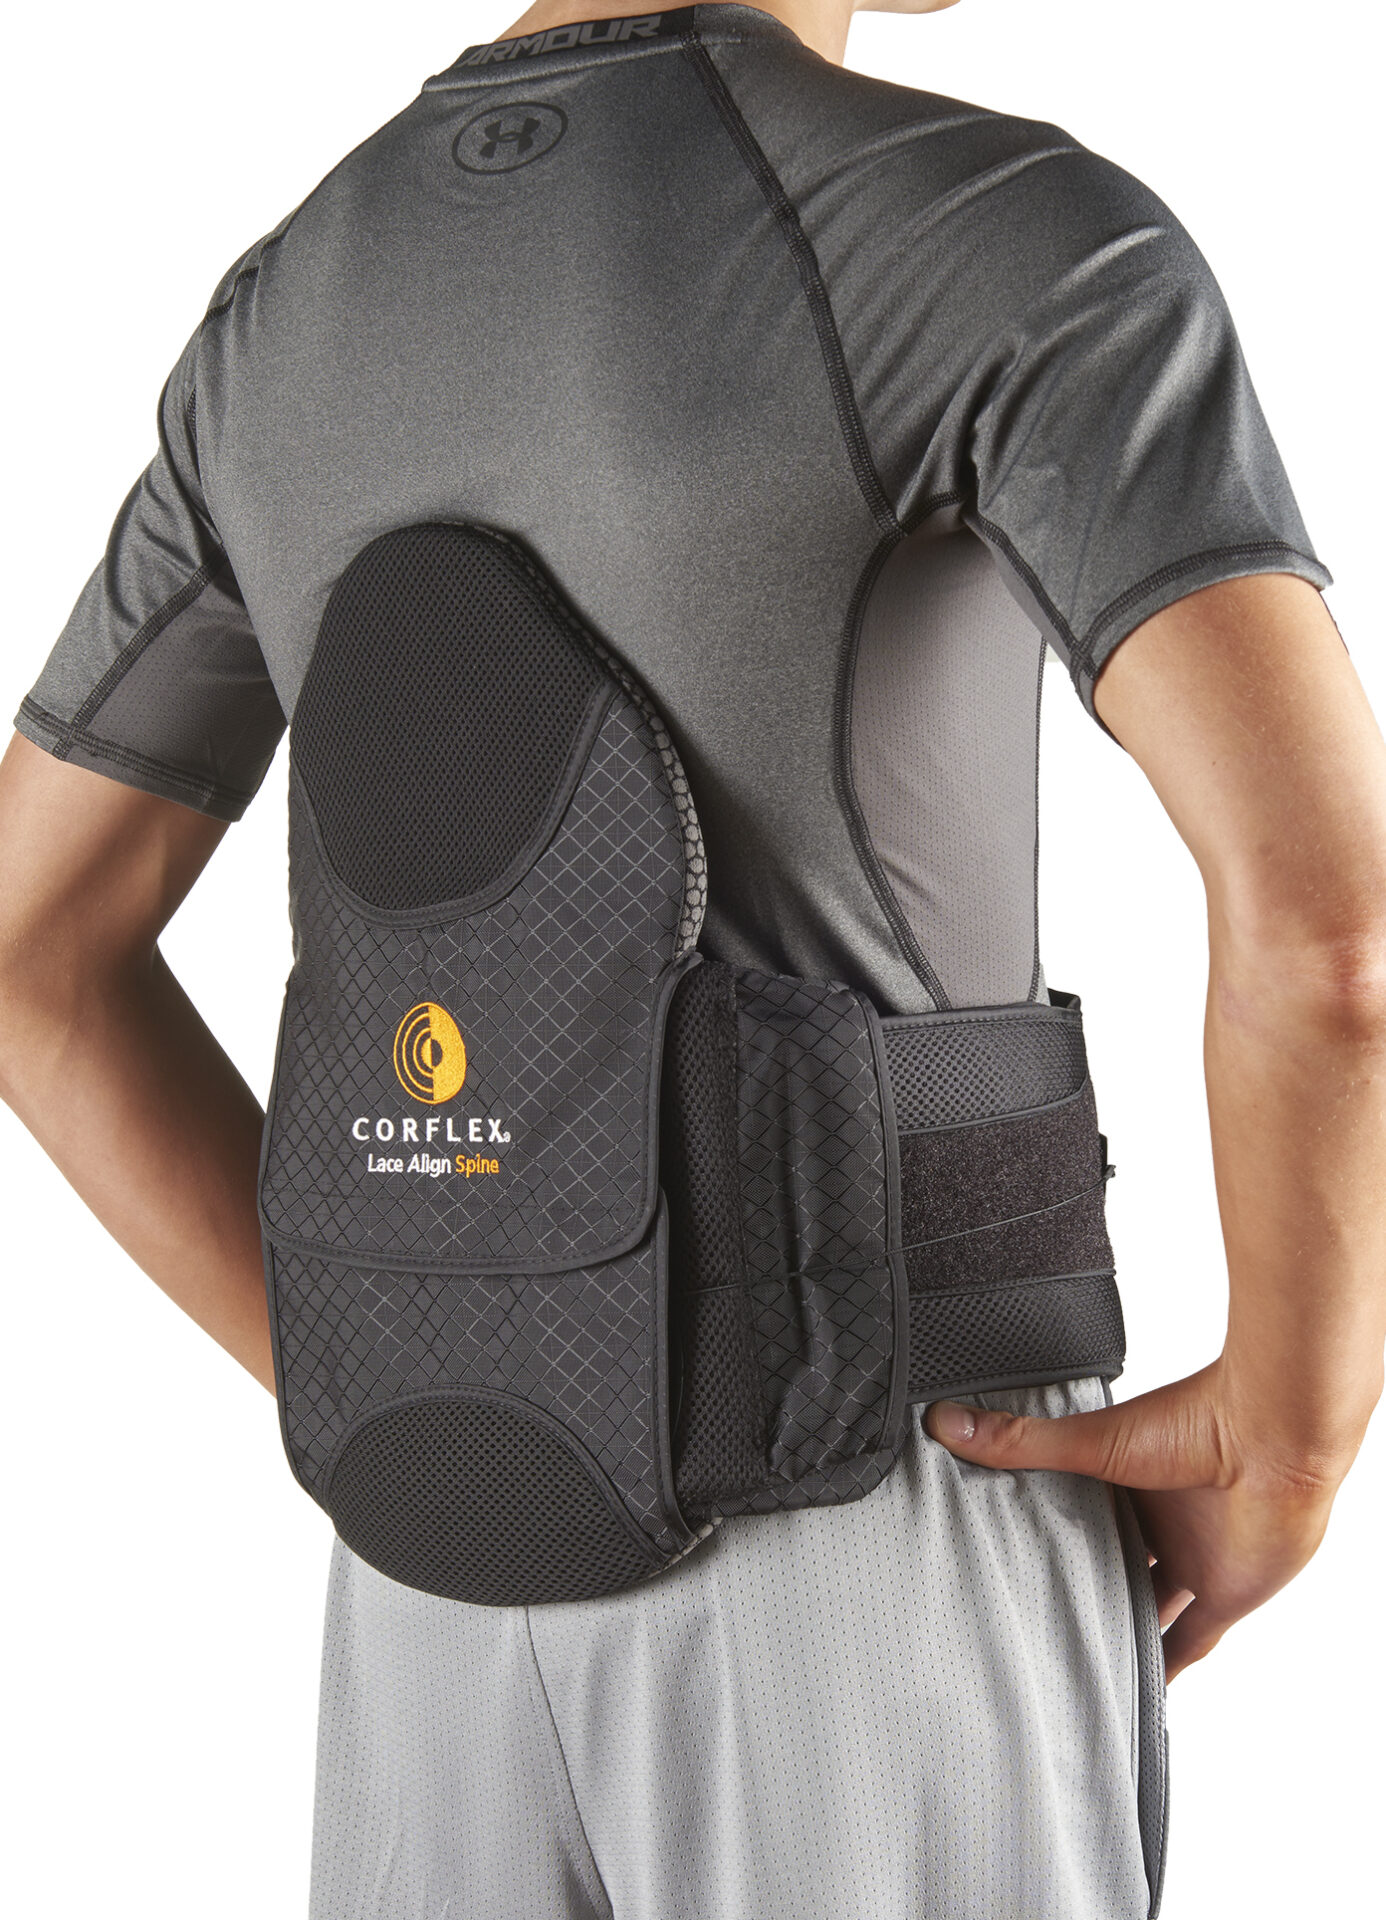
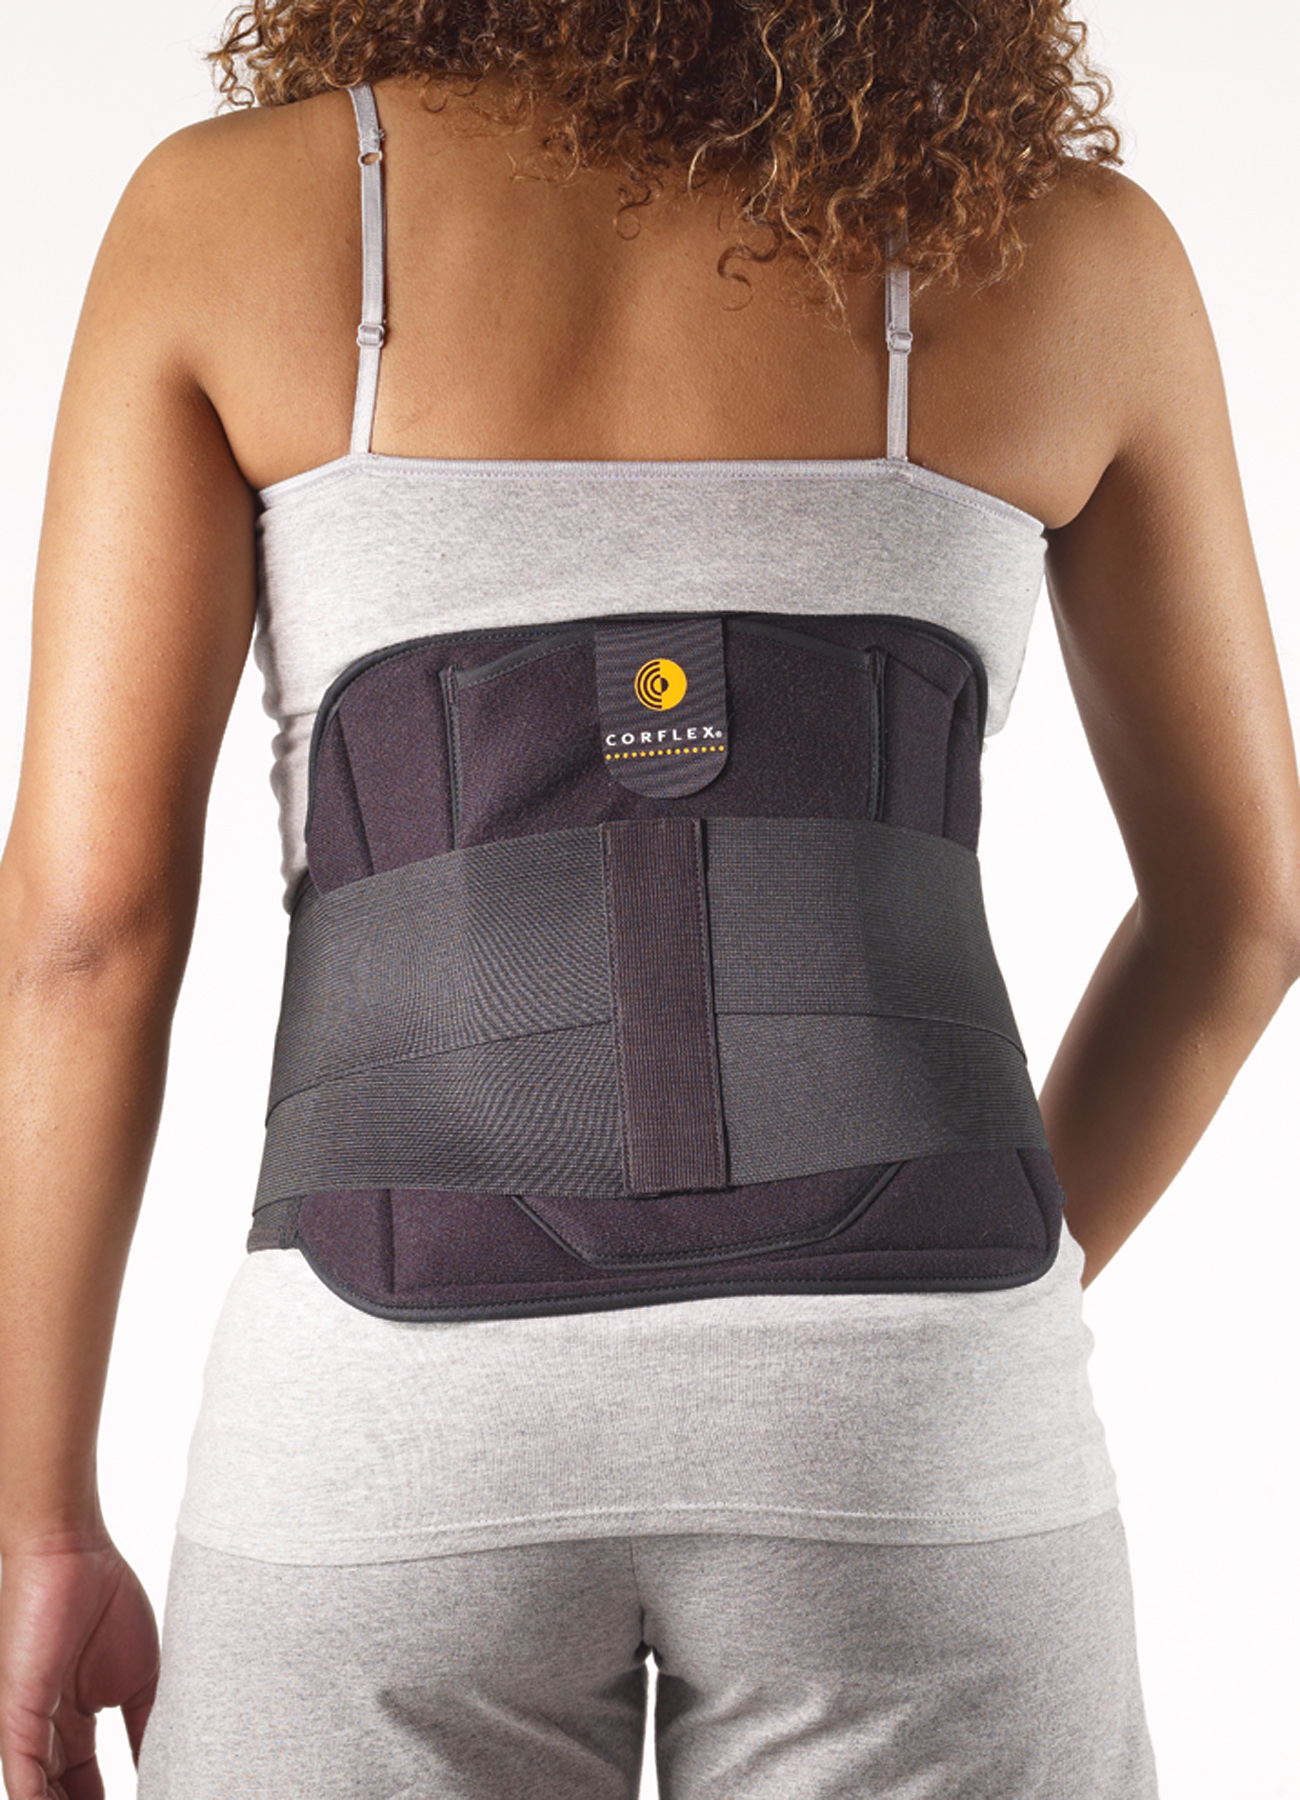
Designed by a leading physiatrist, the Disc Unloader provides relief from chronic or acute back pain by unloading pressure off the lumbar disc and shifting the load to the abdominal region. This brace is designed with patient comfort in mind. Made from a breathable lightweight fabric, the modular design of this versatile spinal orthosis allows it to be used throughout the continuum of care to provide stability and support without interfering with daily activities.
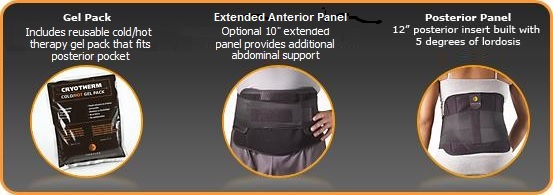
- Unique modular design reduces intradiscal pressure through circumferential compression, standard 6” anterior and 12” posterior panels accept anatomically designed inserts along with gel pack that provides the benefits of cold/hot therapy; available with extended 10” anterior panel.
- Indicated for chronic or acute low back pain, discogenic disc disease, post-surgical application, strains/sprains to lumbar muscles/ligaments and postural support.
- Constructed of soft breathable fabric with contoured rigid A.B.S. inserts, elastic double-pulls and contact closure.
HCPCS Code: L0627 (Custom Fit), L0642 (OTS)
| Product Number | XS | S | M | L | XL | 2XL | 3XL | 4XL |
| 6″ Extended | 35-4000 | 35-4001 | 35-4002 | 35-4003 | 35-4004 | 35-4005 | 35-4006 | 35-4007 |
| Sizing Guide | 25”-30” | 30”-35” | 35”-40” | 40”-45” | 45”-50” | 50”-55” | 55”-60” | 60”-65” |
| Measurement taken from waist circumference. | ||||||||
| Accessories | 9”x11” | |||||||
| Gel Pack, each | 72-7006 | |||||||
| Gel Pack, 10/box | 72-7006-010 | |||||||
Close all contact closures and hand wash in warm water with mild soap.
Product should be air-dried.
Do not use high temperatures to wash or dry.
- Release Velcro closures, open orthosis and lay flat.
Note: rigid inserts may be removed from pockets, heat molded to specifications, and reinserted or it may be used without inserts. - Place anterior (low profile) panel on center of abdomen, making sure loop portion is facing outward and curve is facing down.
- Place posterior panel on center of back, making sure Corflex logo and elastic double-pulls are face outward.
- Grasp both ends of posterior panel, bring forward, and attach to loop on anterior panel.
- Grasp both ends of elastic double-pull, pull one side across and attach onto loop area on opposite side of posterior panel, pull other side across and attach to loop area on opposite double-pull.
- Adjust to desired tension, making sure not to over tighten.